
Nov 08, 2023
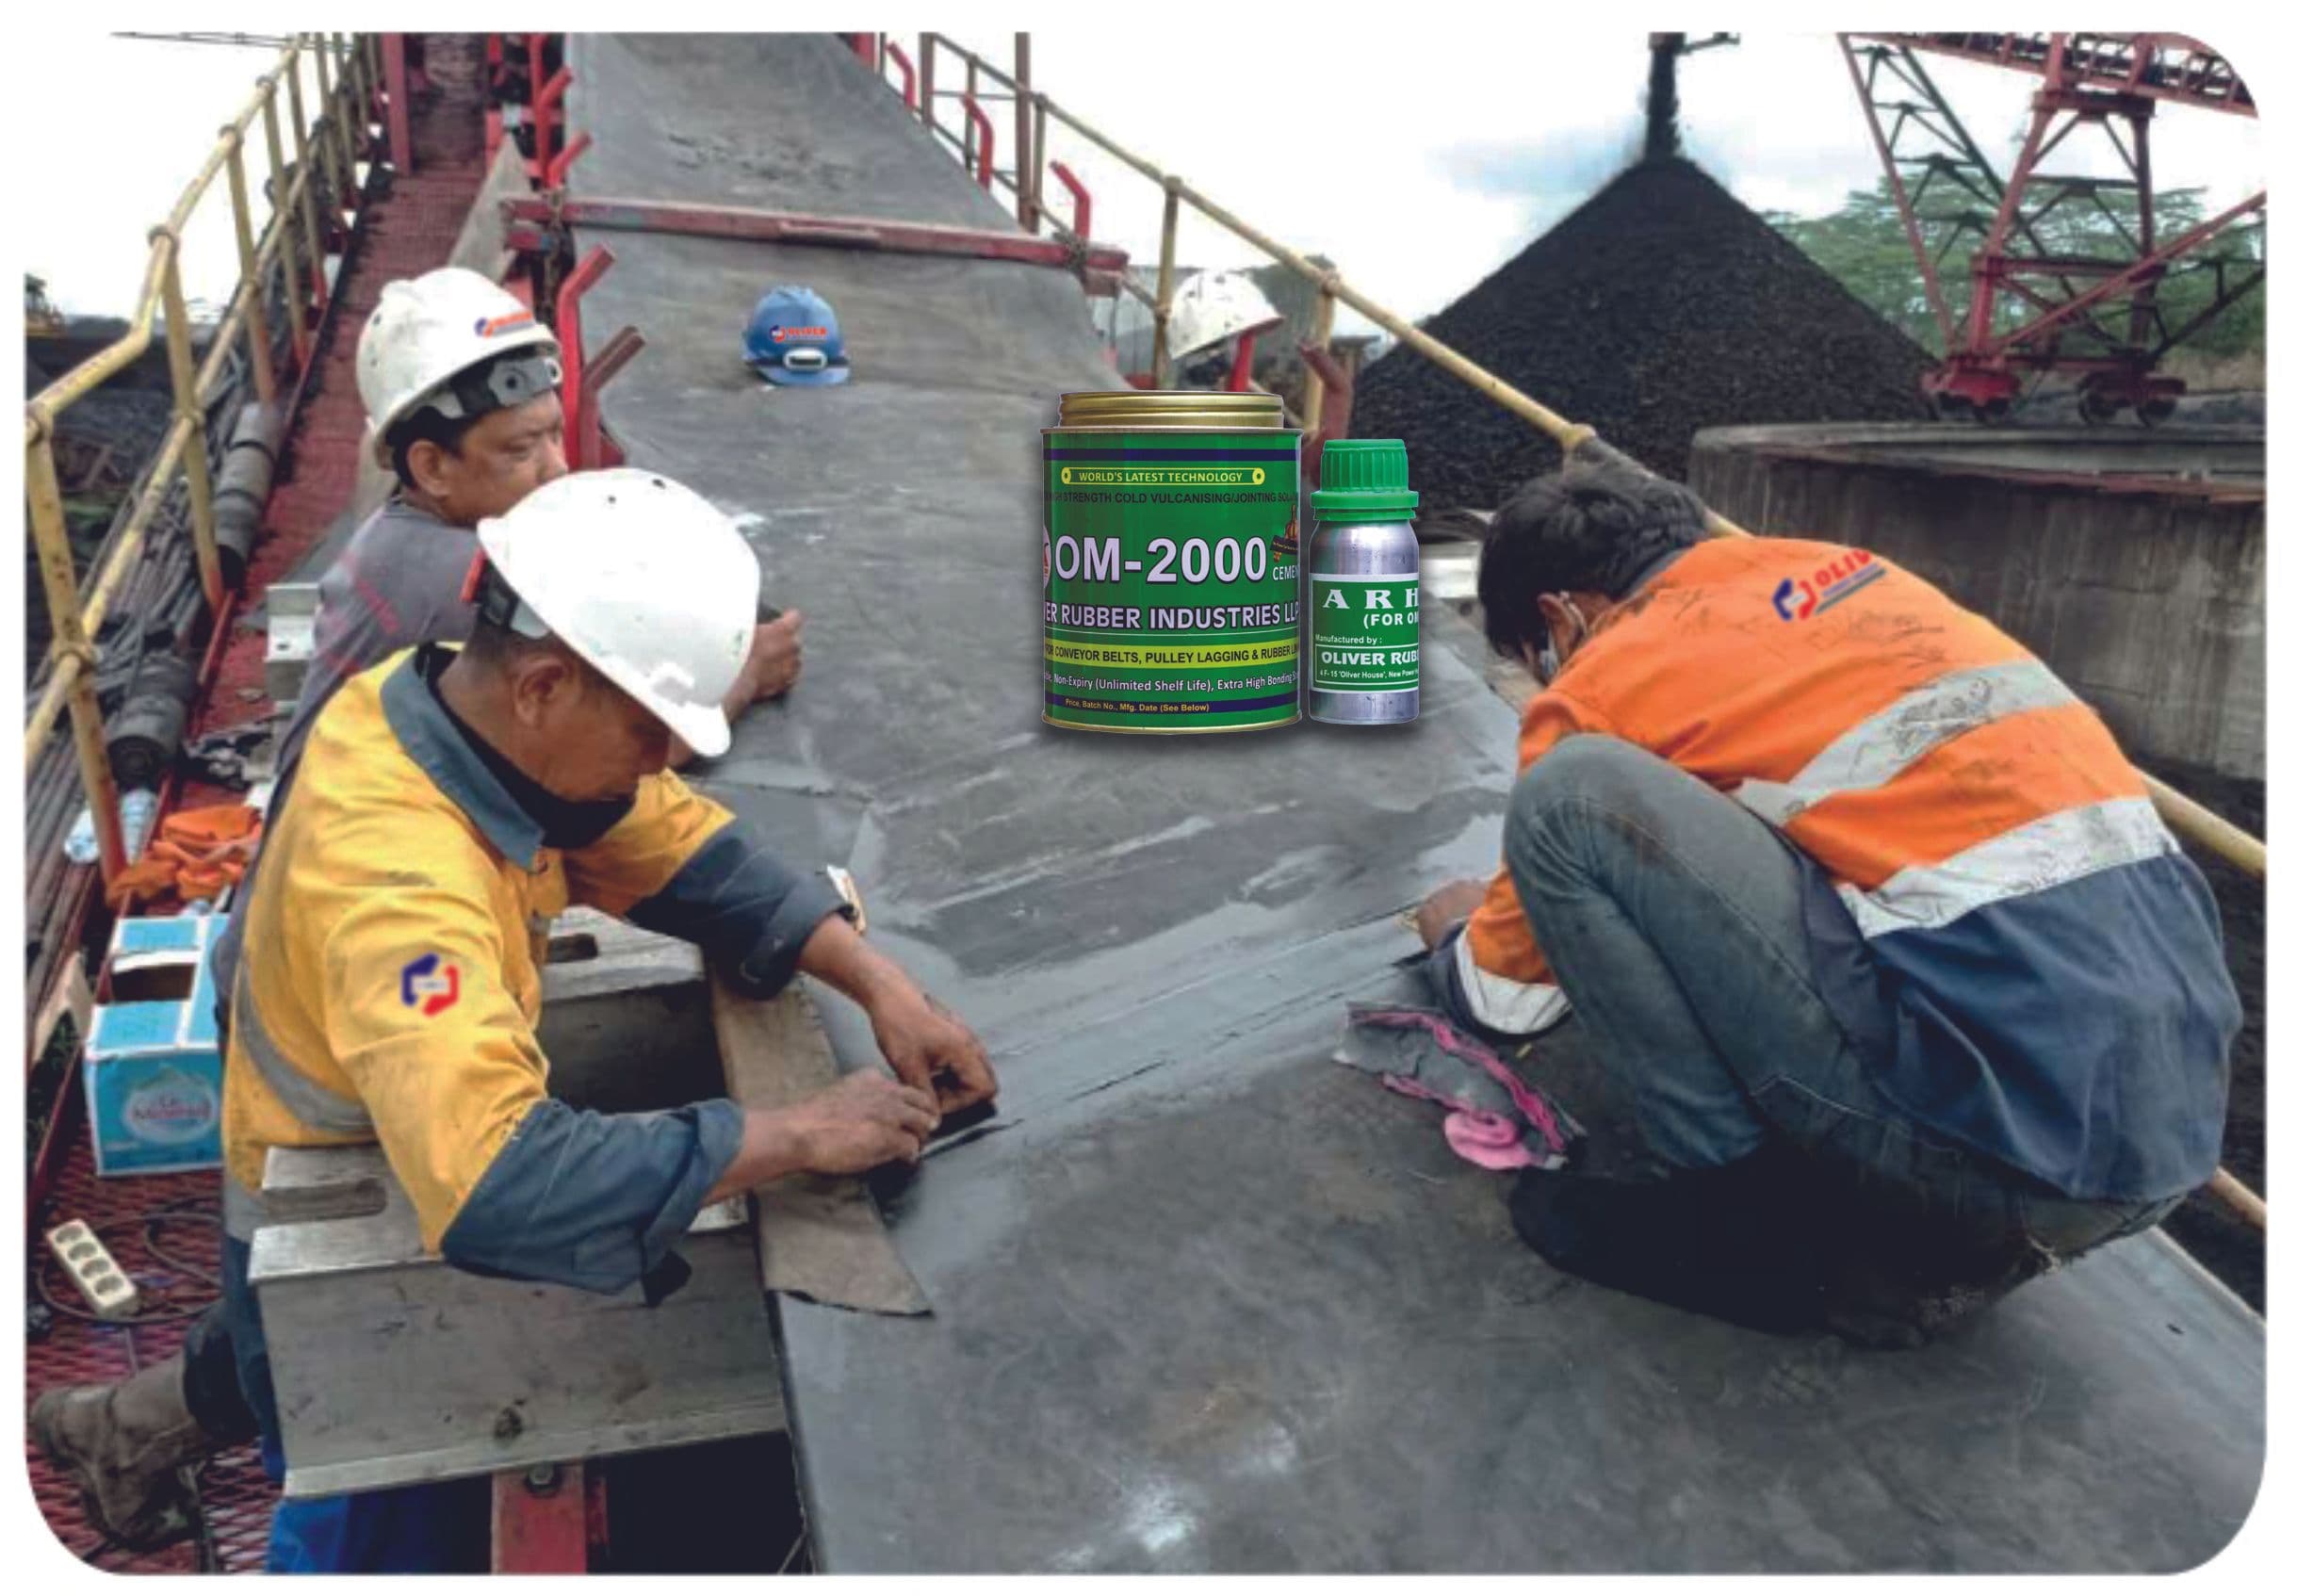
Cold Vulcanizing Cement OM-2000, combined with AR Hardener, offers a reliable and efficient solution for conveyor belt repairs. This versatile adhesive system is designed to bond rubber components seamlessly, ensuring strong and durable joints. In this guide, we'll explore the step-by-step process of using Cold Vulcanizing Cement OM-2000 and AR Hardener for effective conveyor belt repairs.
Always store ORI products in cool, dry & dark places. For better results keep OM-2000 CEMENTcontainer away from direct sunlight or heat.
Do not use a grinding disc for buffing the belt. When bufng rubber and fabric of the belt surface avoid shining, scorching, or smearing.
Buff canvas and rubber with a rotating wire brush. Remove dirt and rust from the metal surface. Remove buffering dust with a dry brush.
- Mixing Method:
Mix OM-2000 CEMENT with AR HARDNER very well. For getting Super High Strength Power this mixer of OM-2000 CEMENT and AR HARDNER should be used within two hours.
- Coating Method:
Always apply two coats on metal, rubber, and canvas surfaces. Allow the First coat applied to the rubber and canvas to dry completely. On a metal surface, it may take 1 to 2 hours to dry. The second coat, however, should be dried until slightly tacky to the back of the Finger. Apply 3rd coat only in case of over-drying.
- Stitching Method:
Initially you may use a 15 mm wide roller and start from the center and slowly move outwards of the belt. Please repeat the process with a narrow 3 mm stitcher. With this Stitcher you apply your best possible force on the belt move from center to outward and check no air bubbles should be there for getting the best bonding. You may also use the ORI special double-action roller to facilitate stitching.

Step | Product(s) Used | Product(s) Used |
|---|---|---|
Storage | ORI Products, OM-2000 CEMENT | Store in cool, dry & dark places. Keep OM-2000 CEMENT away from direct sunlight or heat. |
Buffing Preparation | N/A | Avoid using a grinding disc. When buffing rubber and fabric, prevent shining, scorching, or smearing. |
Buffing Method | N/A | Use a rotating wire brush for canvas and rubber. Clean metal surfaces of dirt and rust. Remove buffing dust with a dry brush. |
Mixing Method | OM-2000 CEMENT, AR HARDNER | Mix OM-2000 CEMENT with AR HARDNER thoroughly. Use the mixture within two hours for Super High Strength Power. |
Coating Method | OM-2000 CEMENT, AR HARDNER | Apply two coats on metal, rubber, and canvas. Allow the first coat to dry completely; the second should be tacky. Apply a third coat if over-dried. |
Stitching Method | ORI Special Double-Action Roller | Use a 15 mm wide roller and a 3 mm stitcher, applying force from the center outward, ensuring no air bubbles. |
Cutting Lower Belt | ORI Adjustable Knife, ORI Pincer, ORI 'V' Pointed Knife | Align belt ends, mark, and cut using ORI tools for precision. Remove fabric and bevel edges as necessary. |
Cutting Upper Belt | ORI Tools (as needed) | Ensure alignment of belt edges and fabric steps. Mark and cut using ORI tools, matching the lower belt. |
Joining Splice Surface | ORI Electric Motor, ORI Rotating Wire Brush, ORI Dry Hard Brush | Buff the splice surface with ORI tools. Apply two coats of the CEMENT and HARDNER mixture, then stitch the area. |
Filling and Covering Joints | OM-2000 CEMENT, AR HARDENER, Floating Gum | Apply the mixture to joint gaps and let it dry until tacky. Apply floating gum strip and stitch with ORI rollers and stitcher. |
Final Steps | N/A | Wait at least six hours before placing the belt under tension. |
To Begin with: Always be careful and check about the heat, clean site, good weather, dust & moisture free atmosphere before starting. If you are satisfied with the above conditions you may now start the preparation of cold endless splicing of multiple conveyor belts as under.Standard Values for cold endless splicing of multi-ply rubber conveyor belts.
Belt | Tensile Strength (N/mm) | Fabric ply Tensile Strength (N/mm) | Minimum Step Length (mm) | No. of Steps | Splice Length (mm) |
|---|---|---|---|---|---|
200/3 | 63 | 150 | 300 | 2 | 300 |
250/4 | 80 | 200 | 450 | 3 | 450 |
250/3 | 63 | 200 | 400 | 2 | 400 |
315/4 | 80 | 200 | 600 | 3 | 600 |
315/3 | 63 | 200 | 400 | 2 | 400 |
400/4 | 100 | 250 | 600 | 3 | 600 |
400/3 | 80 | 250 | 500 | 2 | 500 |
500/4 | 100 | 250 | 750 | 3 | 750 |
630/5 | 125 | 300 | 1000 | 4 | 1000 |
500/3 | 80 | 250 | 500 | 2 | 500 |
630/4 | 100 | 250 | 750 | 3 | 750 |
800/5 | 125 | 250 | 1000 | 4 | 1000 |
630/3 | 63 | 250 | 600 | 3 | 600 |
800/4 | 100 | 300 | 900 | 4 | 900 |
1000/5 | 125 | 300 | 1200 | 2 | 1200 |
1000/4 | 80 | 250 | 900 | 3 | 900 |
1250/5 | 125 | 300 | 1200 | 4 | 1200 |
1. Measure the belt length according to your requirements.
2. Please add the following.
(a) 1x the dimension of the overlap of the splice as per chart plus.0
(b) Belt width x 0.30 from the bias cut of approx 16 angles for example:1000 mm wide belt, tensile strength 630/4750 mm for the overlap of the splice (See Chart)
+300 mm for the bias cut/= 1050 mm required length of belt
Please set both ends of the belt-upper and lower as per the running direction (See Figures 1 & 2) and mark the upper portion and lower portion.
At the end of the belt mark a line with ORI yellow Chalk at 0 BC at a right angle (90 ). Now measure the belt width X 00.30 = approx 16 on the edge of the belt and mark AB. Draw a line with the help of ORI string for bias cut and cut the Belt.

Mark a line with ORI yellow chalk parallel to the bias cut 50 mm from the belt end and mark the belt edges which should be kept as it is. Now cut the belt cover along the line marked using our ORI Adjustable knife for correct and sharp cutting.
Now pull off the 50 mm wide strip with the help of an ORI pincer and cut the edges flush. Then bevel another 50 mm of the belt cover with the help of a 7” ORI ‘V’ pointed knife parallel to the bias cut for the cover strip

(i) Now measure the length of the splice and mark the length (as per the chart) parallel to the bias cut. Put a second line to bias cut 50 mm from the first line. Mark the edges of the belt towards the belt end.
(ii) Cut only the belt cover along the 50 mm mark using an ORI adjustable knife. Please check that you do not damage the fabric or edges of the belt.
(iii) Pull off all strips using our ORI pincer.
(iv) Then bevel another 50 mm of the belt cover parallel to the above-removed strip by using an ORI 7” pointed knife.

(v) Now cut the belt cover along the already marked edges by using an ORI adjustable knife. Cut the belt cover into small strips from the exposed fabric towards the belt end and pull it off by using an ORI pincer and screwdriver
(vi) Mark a line on the fabric parallel to the bias cut 50 mm from the bevel. Carefully cut the first fabric ply along this line using an ORI ply cutter or with the ORI adjustable knife.

(vii) Loosen fabric ply towards the belt with an ORI 12” long screwdriver

(viii) The above strip loosened fabric ply using an ORI pincer or any gripping tongs
Continue this process of fabric plies as per the chart (given in the beginning) cut in slightly and pull off with the help of ORI pincer

Note: If you desire to cut the edges of the belt, Flush with each fabric step.
Please put the belt ends one upon another to ensure the correct alignment of the belt edges because this is very important that both parts should lie in a correct posture. For this purpose, you may also use champs. Transfer the edge of the top fabric ply of the lower part to the upper part for the bias cut. The Fabric steps of the lower part must be exactly the same as the upper part. Here you should mark by using a sharp pointed ball pen on both the edges of the belt

NOTE: Now open the clamps. Fold back the lower belt. Mark the bias cut. Please repeat the same instructions on the top side (Carrying side) as advised to you for the pully side (Bottom Side) of the lower belt.
Fold back the upper part and proceed on to the pully side for the carrying side of the lower part. It is very important to always observe the exact dimensions of the fabric steps.

Now you should check both belt ends join each other and see that the joints of the fabric steps match exactly
You may use an ORI electric motor and a Flexible buffng shaft with a special ORI rotating wire brush (This electric motor, buffing shaft, and rotating wire brush we manufactured only for conveyor belts which should not damage your exposed fabric ply)Please start the buffing slowly and slowly on the entire surface including the two joint gaps. Be careful not to spoil the fabric of the belt.
Remove the buffing dust by using an ORI dry Hard Brush. If convenient you may use vacuum cleaner for this purpose NEVER USE COMPRESSED AIR.
Mixing:
To get the “Super high strength” bonding power for joining your belts please pour AR HARDNER (70 gms. Aluminium Bottle) into the metallic container (One Litre) of OM-2000 CEMENT. Please check that the seals of both the bottle and container are intact.
Mix Well the above OM-2000 CEMENT with AR HARDNER for 10 minutes. The above mixture must be used within two hours. This is very important.
Apply a total of two coats of OM-2000 CEMENT and AR HARDNER mixture onto the fabric step and the belt edges by using an ORI brush.
The first coat must be allowed to dry completely. The Second coat, however, let dry only until slightly tacky to the back of the finger. The Third coat should be applied only in case of second coat is over-dried.
You must be careful while joining the belts to each other and see that belt edges are exactly aligned with each other without overlapping the fabric edges of both gradations. Stitch on the splice area by using the ORI 15 mm wide roller from center to outward of the belt. Soon after you may use the ORI 3 mm stitcher with your maximum hand pressure. This coating and stitching should be repeated for all the cutting steps.
Please check no air bubbles should be there to get the best joining of the spliced belt.
Apply a total of two coats of OM-2000 CEMENT & AR HARDNER mixture onto both joint gaps and allow it to dry, until tacky position. Now pull off the protective foil of the floating gum. Apply one coat of OM-2000 CEMENT & AR HARDNER mixture onto the contact side and allow it to dry until tacky position. Apply this floating gum strip. Stitch by ORI 15 mm wide roller and then at once by ORI 3 mm stitcher with your maximum hand pressure.
Store ORI products and OM-2000 CEMENT in cool, dry, and dark places, away from direct sunlight or heat to ensure their quality and effectiveness.
Before buffing, do not use a grinding disc. The surface of the rubber and fabric belt should be buffed without causing shining, scorching, or smearing.
Buff canvas and rubber using a rotating wire brush. Clean any dirt and rust from the metal surface and remove buffing dust with a dry brush.
Mix OM-2000 CEMENT with AR HARDENER thoroughly for 10 minutes and use the mixture within two hours to ensure super high strength bonding power.
Apply two coats of the mixture on metal, rubber, and canvas surfaces. The first coat should dry completely, and the second coat should be left until slightly tacky. A third coat is only necessary if the second has over-dried.
Initially, use a 15 mm wide roller starting from the center and moving outward. Then use a 3 mm stitcher, applying significant force to ensure no air bubbles are present and the best bonding is achieved.
Align the belt ends according to the running direction, mark appropriately, and cut using ORI tools. Bevel edges as necessary and ensure precision in the removal of the fabric.
Place the belt ends one upon the other for correct alignment and transfer the edge markings for bias cut from the lower to the upper belt using a pointed pen.
Ensure both belt ends join each other properly, and the joints of the fabric steps match exactly.
Wait at least six hours after stitching the floating gum strip and applying the OM-2000 CEMENT & AR HARDNER mixture before placing the belt under tension.
These FAQs serve as a quick reference guide to using OM-2000 CEMENT & AR HARDNER forsplicing conveyor belts, summarizing key points of the detailed procedure provided.

Conveyor Belt Jointing Services in 1 Day in Al Raafah – Fast, Reliable & Professional
Feb 26, 2026
